
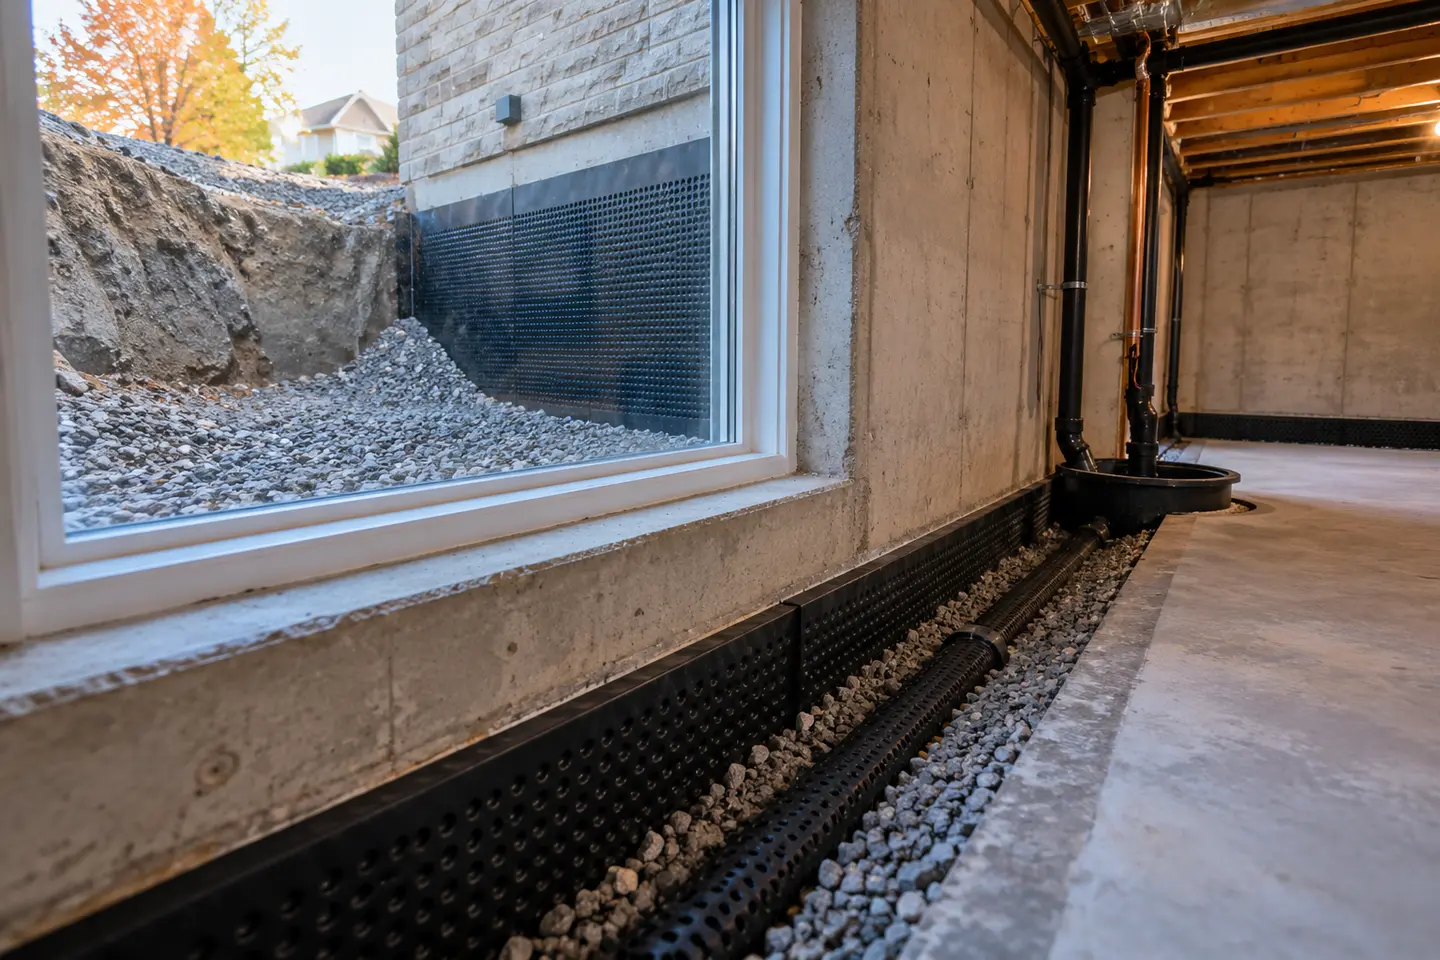
Compare where interior and exterior systems manage water, the access they require, drainage connections, disruption, restoration and limits.
Basement-water decisions are easier when the route, system and administrative requirements are separated. This guide explains the planning framework and the questions that still require property-specific confirmation. It does not diagnose a house from a description or replace the current Town of Oakville and Halton Region information.
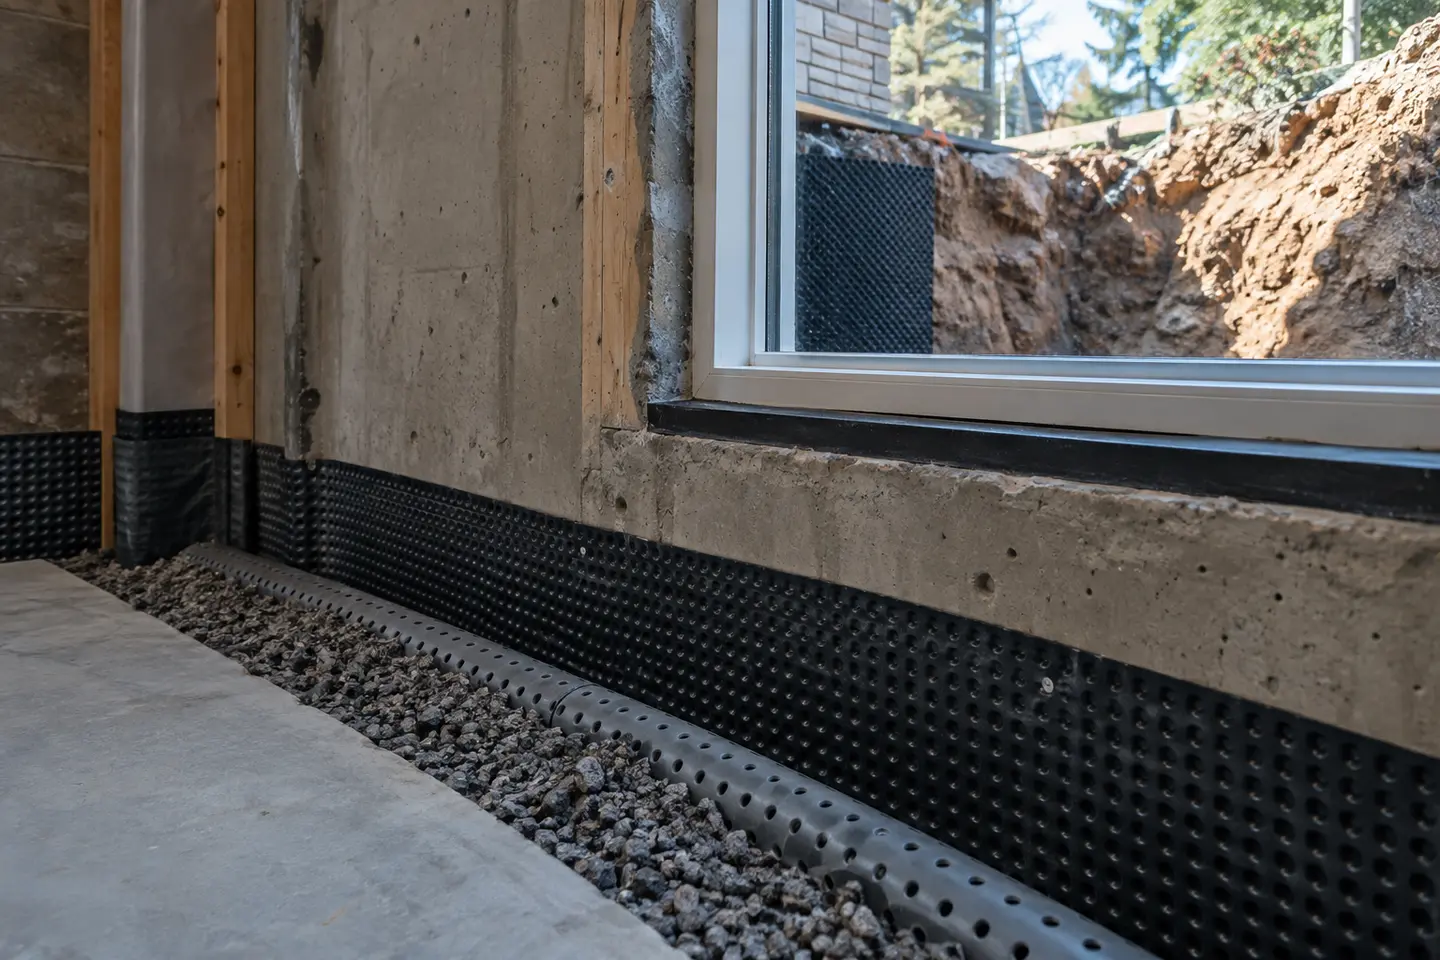
The different sides of the wall
Interior and exterior waterproofing are not interchangeable labels for the same work. An interior system commonly collects water at the inside perimeter and directs it to a sump or other suitable route. Exterior work exposes the soil side of the wall, prepares and protects it, and addresses drainage near the footing. The assessment determines which side can practically and effectively manage the confirmed route.
A localized crack, widespread wall seepage, joint leakage and surface-water loading can lead to different scopes even in similar houses. Ask the proposal to state where water is intercepted, what happens to it next and which conditions remain outside the work. The word ‘waterproofing’ alone is too broad for a useful comparison.
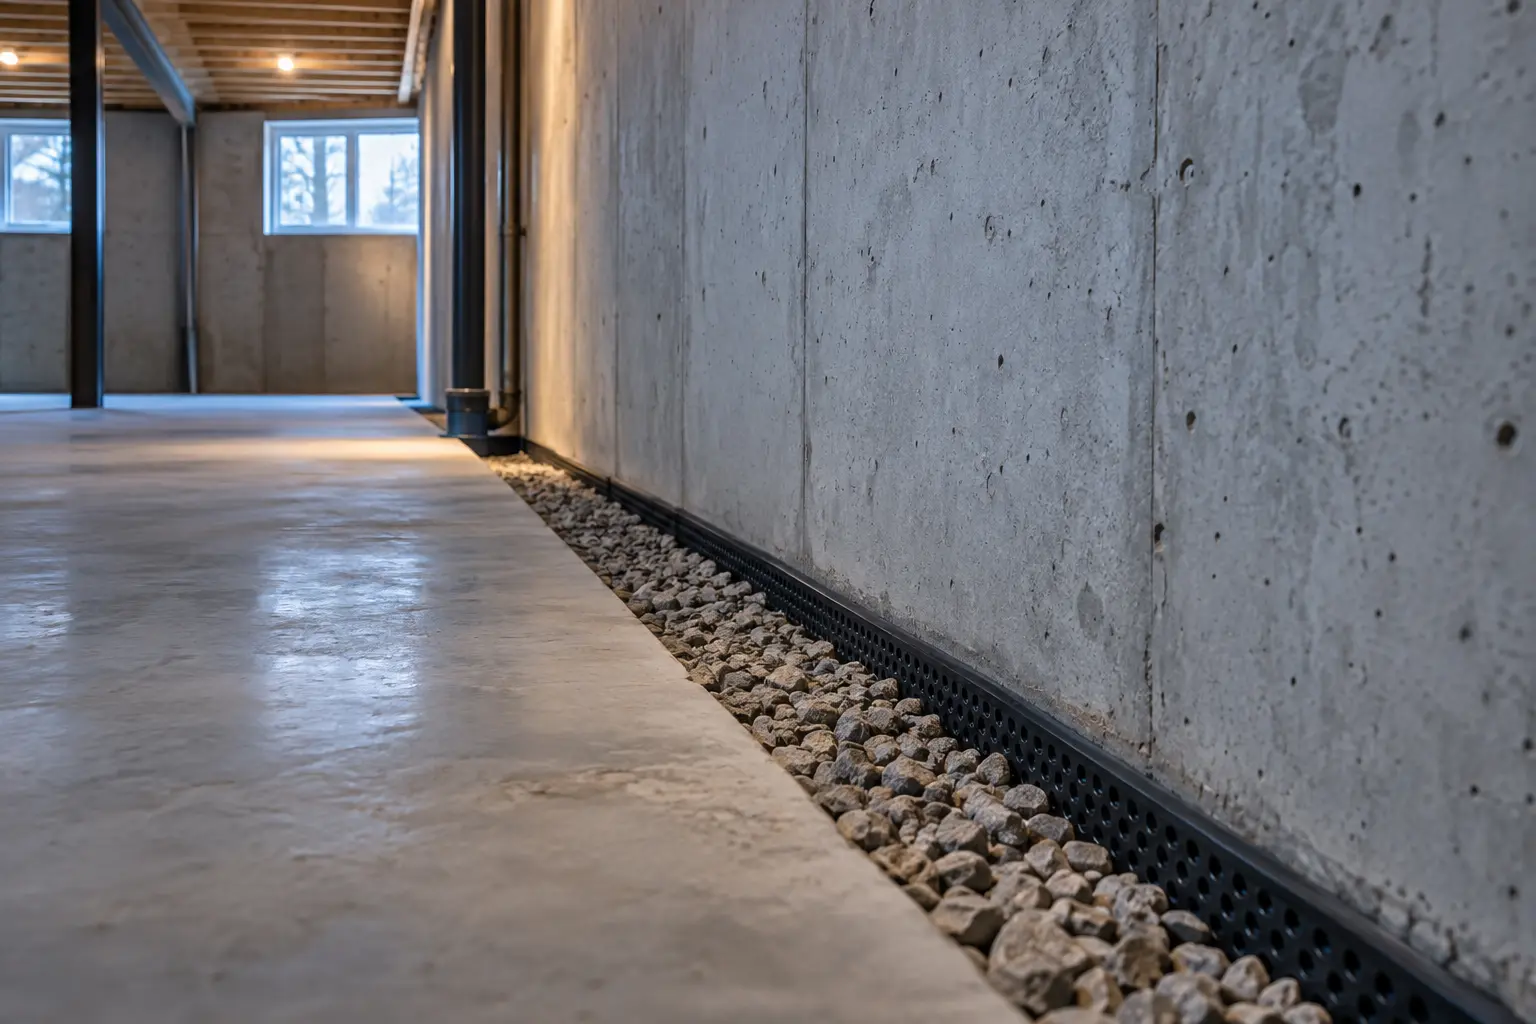
Interior perimeter drainage
Interior perimeter drainage generally requires access along the slab edge. Finishes are removed as needed, a controlled channel is opened, drainage material and a wall interface are installed, and collected water is directed toward a defined outlet. The floor edge is reinstated after the work that needs inspection or testing remains visible. Details vary with the foundation, slab and existing system.
This approach avoids full exterior excavation and can be practical where a side yard, deck or neighbouring structure limits outside access. It still creates interior dust, noise and finish restoration, and it manages water after it reaches the inner foundation area. The proposal should identify wall treatment, channel length, cleanouts, sump capacity and the discharge destination.
Exterior excavation and membrane
Exterior waterproofing exposes the wall to the required depth, often near the footing. The sequence can include utility locates, safe excavation, wall cleaning and repair, membrane installation, protection or drainage layer, footing-drain review, drainage stone, backfill and surface restoration. Excavation width and shoring needs depend on depth, soil and nearby structures rather than a standard trench sketch.
Exterior access allows the soil-side wall and buried drainage to be observed, but landscaping, paving, steps, decks, air-conditioning equipment, fences and property lines can materially affect feasibility and cost. Clarify whether the scope is a local wall section or a complete accessible elevation, and list every surface that will be disturbed and reinstated.
Access and disruption
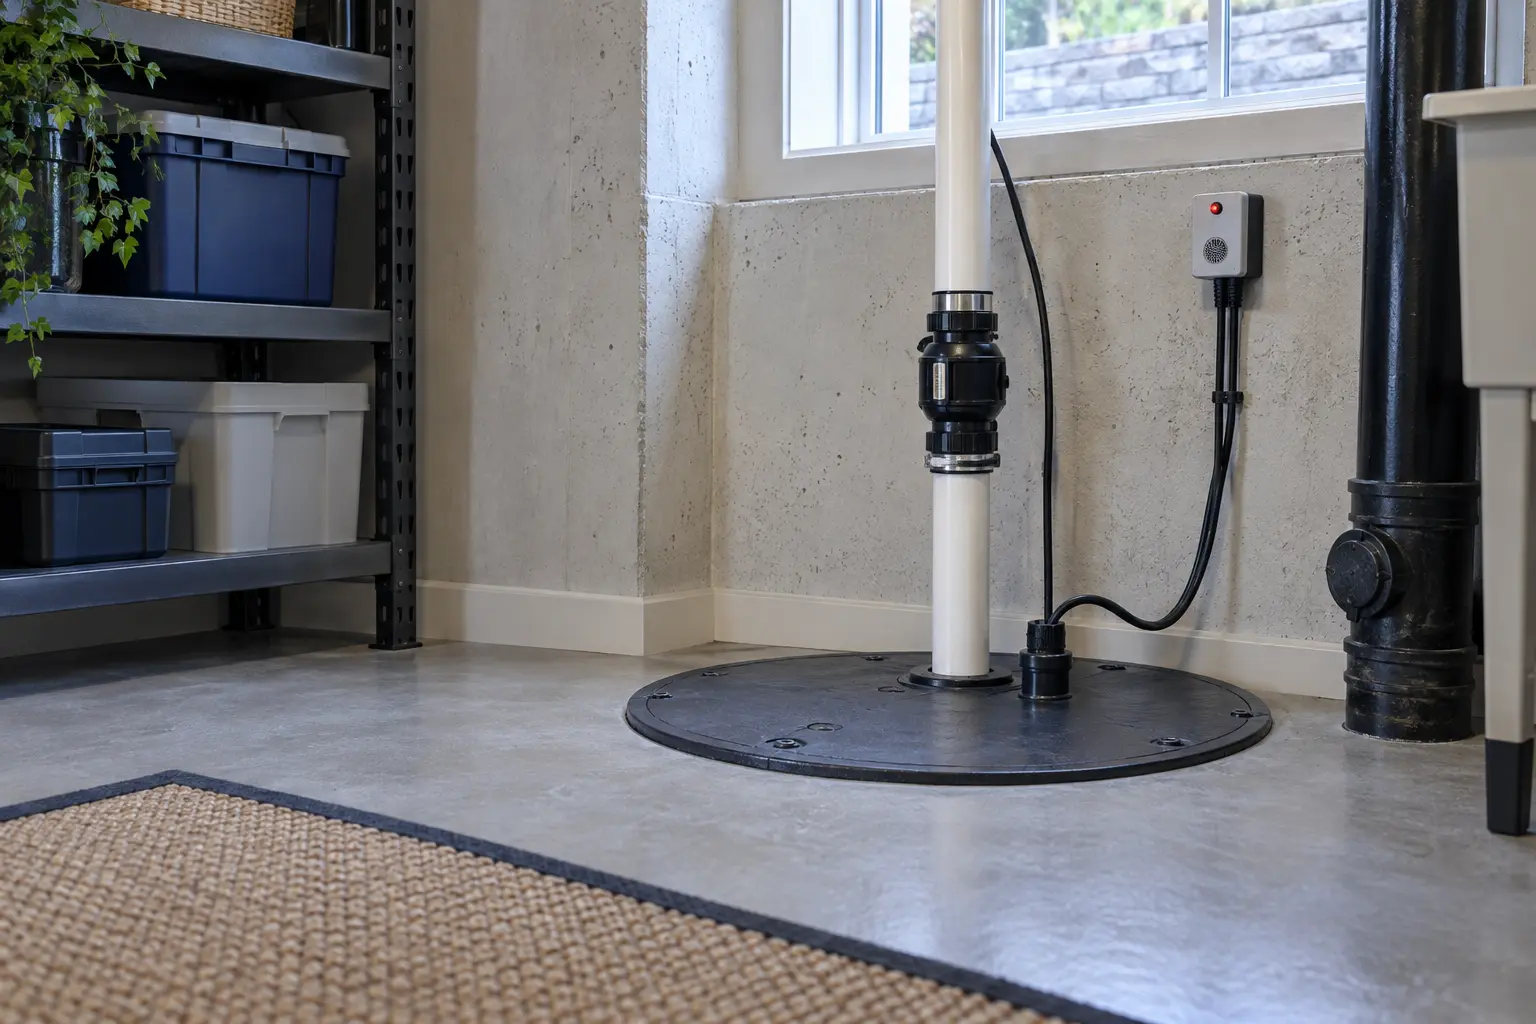
Both approaches depend on a credible drainage destination. Interior collection may lead to a sump or another approved route. Exterior footing drainage may connect to a gravity or pumped system depending on the property. A visible pipe does not prove its condition or destination, and connecting new work to an unknown line can preserve the very uncertainty the project is meant to resolve.
Ask how connections will be exposed, tested or documented and how discharge will avoid returning water to the foundation. In an Oakville FDC area, sump and weeping-tile changes can have permit implications. Surface outlets also need to respect grading, neighbouring properties, freezing and current municipal requirements.
Drainage destinations
Interior work affects occupied rooms, flooring, baseboards, wall finishes, utilities and stored contents. Exterior work affects access routes, soil, plantings, patios, driveways and weather-sensitive excavation. Neither method is disruption-free; the difference is where the access occurs and which restoration trades are needed. Finished basements can make a shorter interior scope more complex than its linear footage suggests.
A useful schedule identifies protection, removal, installation, inspection, curing or testing and reinstatement as separate stages. Confirm who moves contents, disconnects utilities, handles hazardous or contaminated materials and restores finishes. Exterior work also needs a rain and excavation-safety plan, while interior work needs dust and occupied-space controls.
How to compare proposals
Compare proposals by water route, length, depth, preparation, membrane or drainage components, connections, disposal, permit responsibilities and restoration—not by a single per-foot number. Two estimates may use the same headline while addressing different wall sections or assuming different drainage destinations. Mark every assumption that could become a change after the wall or slab is opened.
A combined scope can be reasonable when distinct conditions exist, such as a localized exterior defect plus an interior collection requirement on another elevation. It should not be presented as automatically superior. Each component needs its own purpose, evidence and limit, along with a clear explanation of how the systems meet without trapping or redirecting water unpredictably.
Turn the guidance into a property-specific plan
A decision matrix can keep the comparison grounded. List the confirmed entry area, affected length, inside access, outside access, foundation type, drainage destination, required permits, finishes disturbed and restoration expected. Score neither method as universally better. Instead, note which evidence supports each scope and which assumption could invalidate it. This prevents an attractive system description from substituting for a property-specific plan.
The final contract should identify interfaces between trades. Exterior excavation may need utility locating, shoring advice, masonry work and landscaping; interior drainage may need contents handling, electrical coordination and finish restoration. State who owns each interface, when inspection or testing happens and how concealed changes are approved. A technically sound drainage component can still produce a poor project when the access, discharge or restoration sequence is vague.
Ask for a final walkthrough that follows the installed route from collection point to outlet. Photograph concealed details before closure, receive maintenance information and identify every accessible service point. If part of the original symptom remains outside the scope, record it explicitly so future water is evaluated against the actual boundary of the work rather than the general label on the invoice.
What to document before requesting an assessment
- The first visible wet location and how the water spread
- Date, duration, rain, thaw, outage and plumbing conditions
- Visible cracks, windows, drains, pump equipment and alarms
- Finished areas or exterior features that limit access
- Earlier repairs, available permits and product information
- Questions about drainage destination, restoration and maintenance
Good notes do not require technical conclusions. Plain observations allow the assessor to compare several routes. Keep the original photographs and include a wider view so scale and location are clear. Do not create a safety risk to obtain a closer image.
Oakville and Halton checks
Check Oakville permit requirements against the actual work. The Town currently identifies FDC-area sump and weeping-tile work, shoring and excavation, sewer systems and site servicing among permit-triggering categories, while ordinary basement damp-proofing is listed differently. Halton subsidy measures have their own eligibility and documentation rules.
Review the current Town of Oakville permit guidance and Halton flood-prevention pages before construction or an application. Saved pages and old contractor material may show superseded amounts or requirements.
How to compare recommendations
Put each proposal beside the observed water route. Check whether it addresses one defect or a broader system, which side of the foundation it uses, where collected water goes, and what opening or excavation is required. Then compare restoration, permits, testing, maintenance and exclusions. A price comparison is only meaningful when those responsibilities are aligned.
Ask how unexpected concealed conditions will be handled. A proposal should identify the assumption, the evidence needed to change it, who can authorize additional work and how the price will be calculated. This protects the project from drifting after finishes are opened or buried drainage is exposed.
Maintenance after the work
Water-management components remain part of the home. Pumps should be tested according to their instructions; backup batteries and alarms need periodic review; valve access must remain clear; window wells and outlets should be kept free of debris; and changes in exterior grading or downspouts should not redirect water back toward the foundation.
Keep the final scope, approved changes, permits, inspection records, invoices, photographs and product information. Those records support maintenance and give a future assessor a clearer starting point if the water pattern changes.
Revisit the system after major exterior changes, basement renovations or equipment replacement. New paving, landscaping, additions, finished walls or altered drainage can change access and water movement. A later project should not disconnect, cover or redirect an installed component without confirming its purpose and destination.
Questions homeowners often ask
Can one photograph establish the repair?
No. It can show a visible condition but not the full concealed route, buried connections, structural stability or all access constraints.
Should I pick a system before an assessment?
Start with the symptom and desired outcome. The method should follow evidence from the property and a clear explanation of its limits.
Can two water problems happen in the same storm?
Yes. Foundation seepage, window entry, pump trouble and wastewater reverse flow can occur during the same weather event while requiring different measures.
Are official programs permanent?
No. Funding, eligibility, forms and program availability can change. Verify immediately before relying on a program.
Related Oakville resources
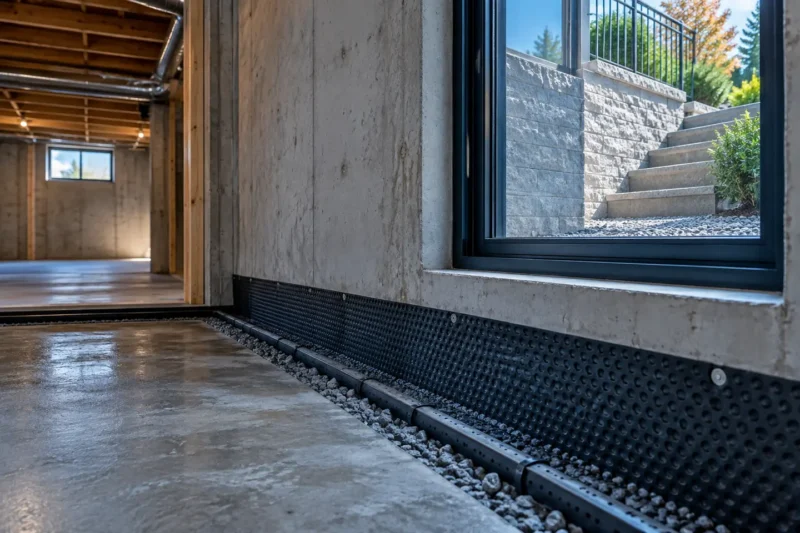
Interior vs Exterior
Interior and exterior waterproofing manage water from different sides of the foundation. The better fit depends on the confirmed route, foundation condition, drainage, exterior access, finished space…
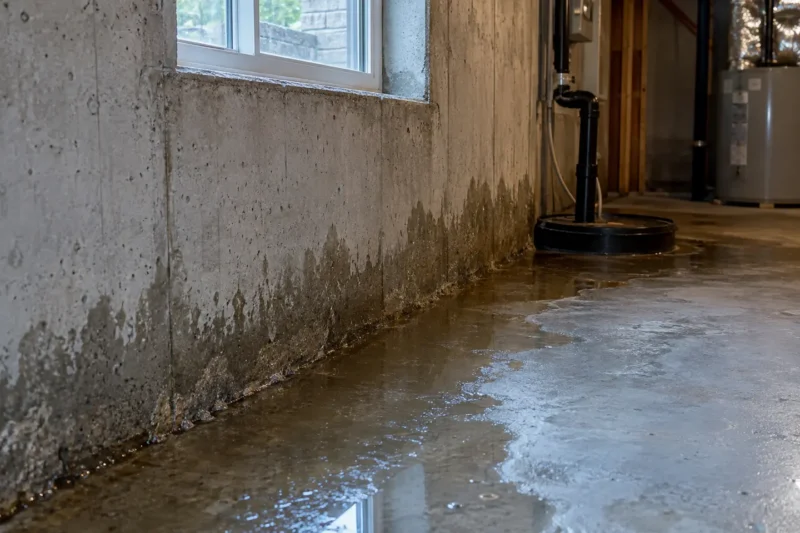
Interior Waterproofing
Oakville interior basement waterproofing planned around recurring seepage that can be managed from inside the basement, access, drainage, permits and restoration.
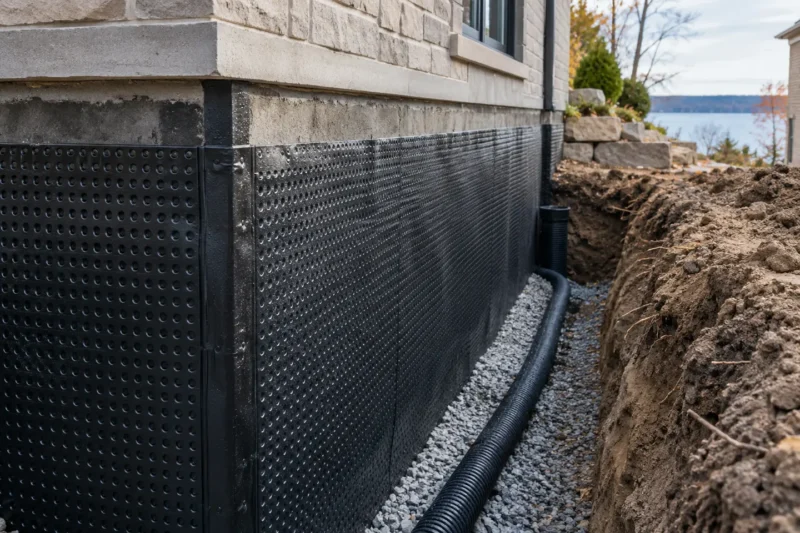
Exterior Waterproofing
Oakville exterior basement waterproofing planned around water entry addressed from the soil side of the foundation, access, drainage, permits and restoration.